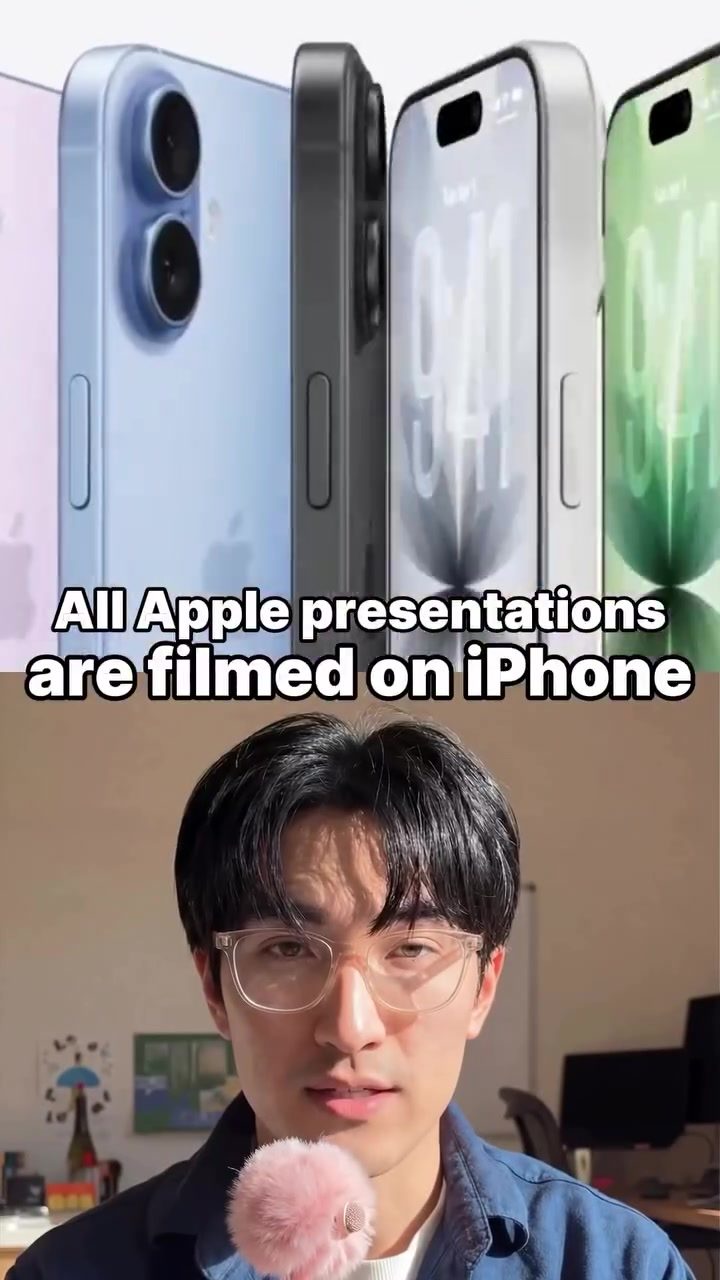
Shooting Professional Presentations with an iPhone and the Blackmagic Camera App
Apple isn't just known for its cutting-edge hardware; it also sets high standards for its presentation quality. It's a well-known fact that Apple shoots all of its presentations on iPhones, but what many don't know is the specific app and camera settings they use to achieve such high-quality results. Apple doesn't use the standard iPhone Camera app for these presentations. Instead, it employs the Blackmagic Camera app, offering superior control over the camera settings. Here’s a deep dive into the key settings and tips to replicate this professional look on your iPhone.
Why This Matters
Professional-grade video production is no longer the exclusive domain of high-end cameras and expensive equipment. With the advancements in smartphone technology, especially with the iPhone, it's now possible to achieve studio-quality footage right from your pocket. Understanding the specific settings and techniques used by industry leaders like Apple can help elevate your own video production, whether for personal projects, social media content, or professional presentations.
Main Discussion
The Blackmagic Camera App
The Blackmagic Camera app is a powerful tool that transforms your iPhone into a professional-grade camera. Unlike the standard iPhone Camera app, Blackmagic offers advanced settings that give you more control over your footage. To start, download the Blackmagic Camera app from the App Store.
Codec and Bitrate
One of the first settings to adjust is the codec. For the best results, set the codec to HEVC 265. This codec offers high compression efficiency, which means you can achieve high-quality footage without taking up too much storage space on your iPhone. Additionally, set the bitrate to the maximum level. A higher bitrate results in better image quality, especially important for professional presentations.
Resolution
Resolution is another crucial factor. If you're aiming for the highest quality possible, set the resolution to 4K. This will give you crisp, detailed images suitable for large screens and post-production editing. However, if you're primarily shooting for short-form content like reels or social media videos, you can opt for 1080p to save memory.
Stabilization and Cinematic Mode
To ensure your footage is smooth and professional-looking, enable stabilization and cinematic mode. Stabilization helps reduce shaky footage, making your videos look more polished. Cinematic mode adds a depth-of-field effect, which gives your videos a more cinematic look, blurring the background while keeping the subject in sharp focus. This is particularly useful for making your subject stand out against any background.
Additional Tips
Beyond the basic settings, there are a few more tips to keep in mind. For example, shooting in vertical mode is ideal for social media reels. This orientation ensures that your content is optimized for platforms like Instagram and TikTok, where users typically view content vertically.
Additionally, pay attention to lighting. Proper lighting can significantly enhance the quality of your footage. Avoid overexposure by using natural light or additional lighting equipment if available. Natural light is often the best choice, as it provides a soft, even illumination that flatters most subjects.
Practical Tips
Experiment with Settings
Don’t be afraid to experiment with different settings to see what works best for your specific needs. While the recommended settings are a great starting point, your ideal configuration might vary based on the environment and the subject matter.
Use Accessories
Consider using additional accessories to enhance your iPhone's capabilities. A tripod can help stabilize your shots, while external microphones can improve audio quality. These accessories can make a big difference in the overall production value of your videos.
Edit Wisely
Post-production editing is just as important as the filming process. Use editing software to fine-tune your footage, adding filters, transitions, and other effects to make your videos more engaging. There are numerous apps available that offer advanced editing features, allowing you to achieve a professional look without extensive experience.
Important Takeaways
Using the Blackmagic Camera app on your iPhone, you can achieve professional-grade video quality suitable for presentations, social media content, or any other video project. Key settings to focus on include the HEVC 265 codec, maximum bitrate, 4K or 1080p resolution, stabilization, and cinematic mode. Additionally, pay attention to lighting and consider using accessories to enhance your footage.
Conclusion
Producing high-quality videos doesn't require expensive equipment or complex setups. With the right app and settings, your iPhone can be a powerful tool for creating professional-looking content. By understanding and applying the techniques used by industry leaders, you can elevate your video production skills and create impressive content that stands out.
Watch the Reel
Questions readers ask
Why does Apple use the Blackmagic Camera app instead of the standard iPhone Camera app for presentations?
Apple uses the Blackmagic Camera app for presentations because it offers more advanced camera controls compared to the standard iPhone Camera app. This includes manual adjustments for exposure, focus, and white balance, which are crucial for achieving a professional look.
What are the key settings to adjust in the Blackmagic Camera app for optimal video quality?
To achieve optimal video quality, start by setting the resolution to at least 4K at 30fps. Adjust the focus and exposure manually to ensure sharpness and proper lighting. Also, utilize the histogram to monitor exposure levels and avoid overexposure or underexposure.
Can I achieve high-quality video with an iPhone without using the Blackmagic Camera app?
While the Blackmagic Camera app offers superior control, you can still achieve good results with the standard iPhone Camera app. Use manual controls for exposure and focus if available. However, for the most professional results, the Blackmagic Camera app is recommended.
How can I stabilize my iPhone videos for a more professional presentation?
To stabilize your iPhone videos, consider using a tripod or a stabilizer to keep your shots steady and smooth. Additionally, use the built-in stabilization features in the Blackmagic Camera app, and avoid sudden movements while recording.
What are some tips for editing iPhone videos to match Apple's presentation quality?
For editing, use professional software like Final Cut Pro or iMovie. Apply color grading to match the aesthetic of Apple's presentations. Use consistent transitions and avoid overusing effects to maintain a clean, polished look. Additionally, sync your audio properly and consider using external microphones for better sound quality.
What is the best way to ensure consistent lighting in iPhone video presentations?
To ensure consistent lighting, shoot in a well-lit environment with natural light if possible. Avoid harsh shadows and use diffusers or reflectors to soften the light. Additionally, manually adjust the white balance in the Blackmagic Camera app to maintain accurate colors throughout your video.
How can I export and share my high-quality iPhone videos for presentations?
After editing, export your video in a high-quality format, such as 4K, to retain the best resolution. Use a reliable cloud storage service or file-sharing platform to share your video. For local presentations, ensure your playback device supports high-resolution playback to showcase the quality of your video.
Related deep dives
Similar reads based on topic and creator.



Recent articles
Fresh deep dives from the latest Reels we unpacked.




Comments
Be the first to comment.