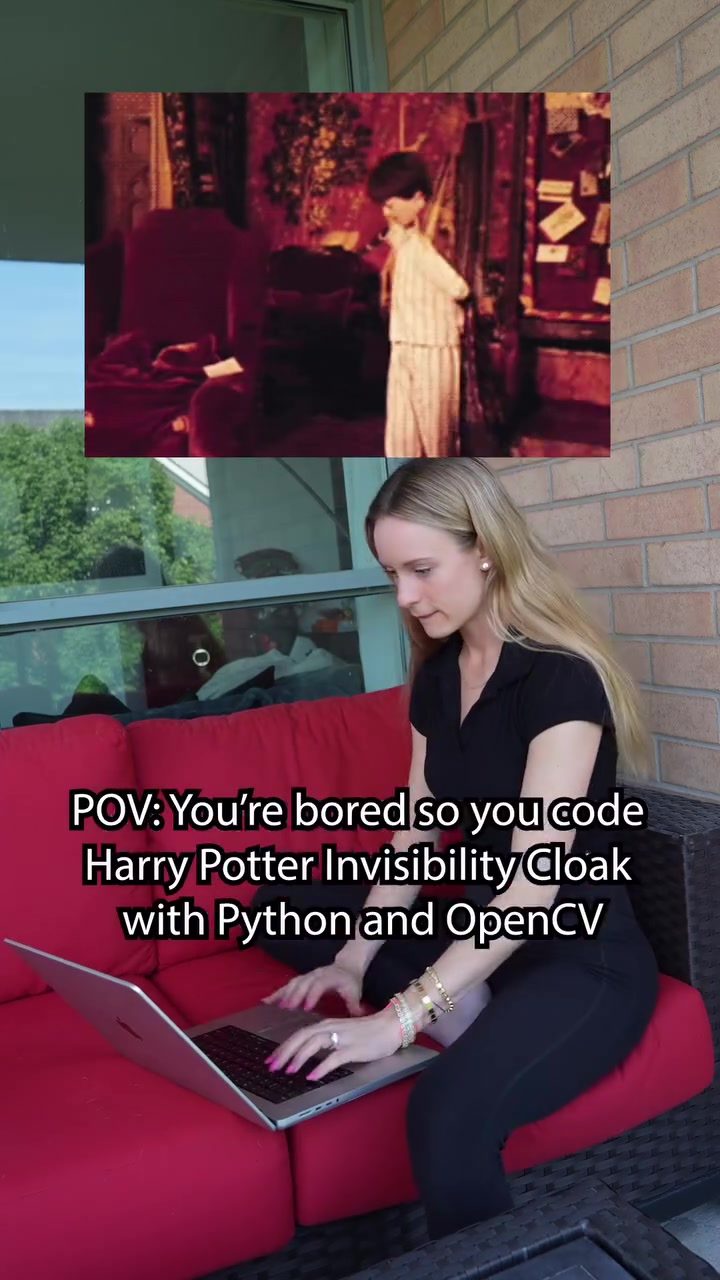
Creating an invisibility cloak is a captivating project that blends fun and technical skills. The concept of an invisibility cloak is inspired by the Harry Potter series, where the cloak makes the wearer invisible. But in reality, achieving invisibility involves some clever coding and image processing techniques. This article delves into the steps and logic behind creating a simple invisibility cloak using a laptop, Python, and OpenCV.
Context / Why this matters
The project of creating an invisibility cloak isn’t just a fun gimmick; it has practical implications in various fields. Image processing and computer vision are widely used in security, medical imaging, and even entertainment. By understanding how to manipulate video frames and replace specific colors, you can gain insights into more complex applications. For instance, background replacement is a fundamental technique used in green screen effects in movies and television shows. The ability to detect and remove specific colors from a video frame can be adapted for a variety of purposes, from removing unwanted objects to creating special effects.
Main discussion
Setting Up the Environment
To start, you’ll need a laptop and a few key tools. Python will be the programming language of choice, and OpenCV (Open Source Computer Vision Library) will handle the image processing tasks.
Python and OpenCV
Python is a popular choice for beginners and experts alike due to its simplicity and extensive libraries. OpenCV is a powerful library for computer vision tasks, including image and video processing. Together, they provide a robust environment for creating the invisibility cloak effect.
Required Libraries
Before diving into the code, ensure you have the necessary libraries installed. You can install OpenCV using pip:
pip install opencv-python
Detecting and Replacing Colors
The core idea behind the invisibility cloak is to detect a specific color (in this case, blue) in each video frame and replace it with the background. This process involves several steps, including opening the camera, processing frames, and displaying the results in real-time.
Step-by-Step Process
-
Open the Camera: The first step is to access the laptop’s camera to capture video frames.
-
Process New Frames: Continuously capture new frames from the camera feed.
-
Detect Blue Color: Use color detection to identify blue areas in each frame. This is done by converting the frame to the HSV color space, which makes it easier to isolate specific colors.
-
Create a Mask: Generate a mask that highlights the blue areas. This mask is used to identify which parts of the frame need to be replaced.
-
Replace Blue Areas: Use the mask to replace the blue areas with the background. This creates the illusion of invisibility.
-
Display the Result: Show the processed frame in real-time, giving the appearance of an invisibility cloak.
Code Implementation
Here is a breakdown of the key code snippets:
-
Opening the Camera and Capturing Frames:
import cv2 cap = cv2.VideoCapture(0) while True: ret, frame = cap.read() if not ret: break -
Detecting Blue Color and Creating a Mask:
hsv = cv2.cvtColor(frame, cv2.COLOR_BGR2HSV) lower_color = np.array([100, 150, 0]) upper_color = np.array([140, 255, 255]) mask = cv2.inRange(hsv, lower_color, upper_color) -
Morphological Operations to Refine the Mask:
mask = cv2.morphologyEx(mask, cv2.MORPH_OPEN, np.ones((3, 3), np.uint8)) mask = cv2.morphologyEx(mask, cv2.MORPH_DILATE, np.ones((3, 3), np.uint8)) -
Replacing Blue Areas with Background:
backgrounds = []
backgrounds.append(frame)

for i in range(1, len(backgrounds)):
    backgrounds[i] = cv2.morphologyEx(backgrounds[i], cv2.MORPH_CLOSE, np.ones((5, 5), np.uint8))
Practical Tips
When implementing the invisibility cloak, there are a few practical tips to keep in mind:
-
Lighting Conditions: Ensure consistent lighting to make the color detection more accurate. Different lighting conditions can affect the HSV values of the colors.
-
Color Selection: Choose a color that stands out and is not commonly found in the background. Blue is a good choice, but you can experiment with other colors as well.
-
Frame Rate: The speed at which the camera captures frames and the processing power of your laptop will affect the real-time performance. Ensure your laptop has enough processing power to handle the task smoothly.
-
Background Selection: Make sure the background is static or changes predictably. If the background changes rapidly, the replacement process can become inconsistent.
Important Takeaways
Creating an invisibility cloak using Python and OpenCV is a rewarding project that combines coding skills with image processing techniques. The key takeaways include:
- Understanding how to detect and replace specific colors in video frames.
- Applying morphological operations to refine masks and improve accuracy.
- Ensuring consistent lighting and color selection for better results.
- Using Python and OpenCV for efficient and effective image processing.
Conclusion
The Harry Potter-inspired invisibility cloak project is more than just a fun coding exercise. It offers valuable insights into image processing and computer vision, skills that are highly relevant in various fields. By following the steps outlined, you can create your own invisibility cloak and explore further applications of this technique. This project not only enhances your coding skills but also opens the door to more advanced image processing projects.
Watch the Reel
Questions readers ask
What are the basic requirements to create a Harry Potter invisibility cloak using Python and OpenCV?
You will need a laptop, a webcam, Python installed on your system, and the OpenCV library. Additionally, basic understanding of image processing and coding skills are beneficial.
How does the invisibility cloak work in this project?
The invisibility cloak in this project works by detecting a specific color (usually green) in the video feed and replacing it with the background. This makes the object (or person) wearing the cloak appear invisible.
Can I customize the color that the cloak detects for invisibility?
Yes, you can customize the color that the cloak detects. The project involves setting a color range in the OpenCV code, so you can adjust this range to detect any color you prefer.
What are some practical applications of the skills learned in this project?
The skills learned in this project, such as image processing and color detection, can be applied in various fields. These include surveillance systems, medical imaging for diagnostic purposes, and even in the entertainment industry for special effects.
Do I need to be an advanced Python programmer to create a Harry Potter invisibility cloak?
No, you do not need to be an advanced programmer. The project is designed to be accessible for beginners with basic Python knowledge. The steps and code snippets provided make it easier to understand and implement.
Related deep dives
Similar reads based on topic and creator.


Recent articles
Fresh deep dives from the latest Reels we unpacked.


Comments
Be the first to comment.