Building a Sandblaster from Scrap Metal
Transforming discarded metal into functional tools is a skill that combines creativity, engineering, and a bit of ingenuity. The process of building a sandblaster from an old gas can and steel pipes is a prime example of how repurposing scrap metal can lead to innovative solutions. This project shows how a simple air compressor and some clever engineering can turn a pile of scrap into a powerful tool.
Why this matters
Metalworking and DIY projects are growing in popularity as people seek to reduce waste and create useful tools from scratch. Understanding the steps involved in building a sandblaster from scrap metal can inspire others to explore similar projects, encouraging sustainable practices and resourcefulness.
The Process of Building a Sandblaster
Gathering Materials
Building a sandblaster starts with gathering the right materials. In this case, an old gas can and a few steel pipes serve as the foundation. These materials are commonly found in scrap yards or old workshops, making them readily available for repurposing. The key is to ensure that the materials are clean and in good enough condition to handle the high pressures required for sandblasting.
Preparing the Gas Can
The first step in building the sandblaster is to prepare the gas can. This involves cleaning and reinforcing the metal can to handle high air pressure. Cleaning the can ensures that there are no residues that could affect the performance of the sandblaster. Reinforcing the can involves welding additional metal to strengthen it, making it capable of withstanding the pressure generated by the air compressor.
Creating the Airflow System
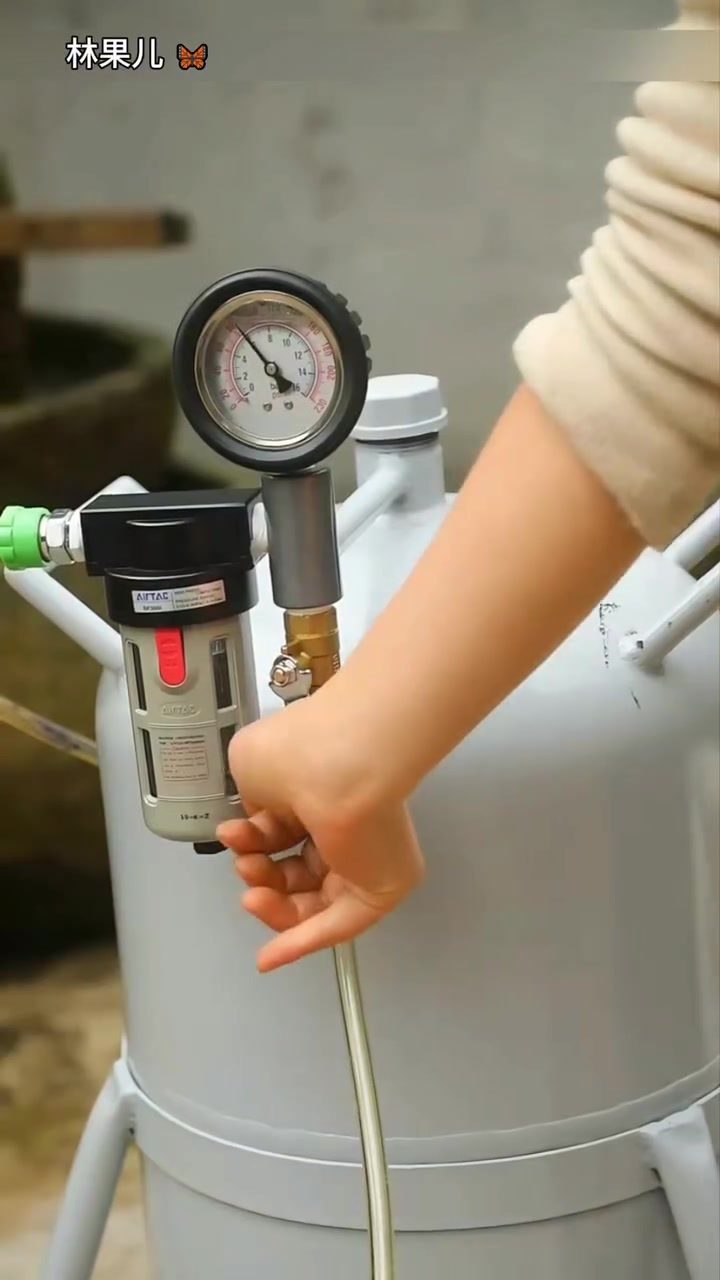
The next step is to create the airflow system. Welding steel pipes into a precise airflow system is crucial for the sandblaster's functionality. The pipes need to be carefully aligned to allow sand and compressed air to mix perfectly inside the tank. This ensures that the mixture is evenly distributed, providing consistent pressure and effectiveness when sandblasting.
Attaching Components
After the airflow system is in place, the next step is to attach the necessary components. This includes valves, hoses, and a spray nozzle. Valves control the flow of air and sand, while hoses transport the mixture from the tank to the spray nozzle. The spray nozzle is the part that directs the sandblasting stream onto the surface being cleaned or prepared. Properly attaching these components is essential for the sandblaster to function correctly.
Testing the Sandblaster
Once all components are in place, the sandblaster is ready for testing. The moment the pressure kicks in, a powerful stream is generated, effectively blasting away rust and old paint. This demonstrates the tool's ability to perform like a professional industrial tool, showcasing the effectiveness of the homemade sandblaster.
Practical Tips
Choosing the Right Materials
Selecting the right materials is crucial for the durability and performance of the sandblaster. Ensure that the gas can and steel pipes are in good condition and can withstand high air pressure. Cleaning and reinforcing the materials properly will enhance the tool's longevity and effectiveness.
Precision in Welding
Welding the steel pipes into a precise airflow system requires skill and attention to detail. Ensure that the pipes are properly aligned to allow for the perfect mixture of sand and compressed air. This precision is key to the sandblaster's performance.
Proper Attachment of Components
Attaching valves, hoses, and the spray nozzle correctly is essential for the sandblaster to function smoothly. Make sure all components are securely fastened and free from leaks. This will ensure that the sandblasting process is efficient and effective.
Safety Precautions
Always prioritize safety when working with high-pressure tools. Wear appropriate protective gear, including safety glasses and gloves, to prevent injuries. Ensure that the work area is well-ventilated to avoid inhaling harmful particles.
Important Takeaways
Repurposing scrap metal to build a sandblaster is not only a cost-effective solution but also an environmentally friendly approach. By transforming discarded materials into functional tools, you contribute to reducing waste and promoting sustainability.
The process of building a sandblaster involves several steps, each requiring careful attention to detail. From cleaning and reinforcing the gas can to welding the steel pipes and attaching the necessary components, every step plays a crucial role in the tool's performance.
The final product, a fully functional sandblaster, demonstrates the power of ingenuity and craftsmanship. With the right materials, tools, and techniques, anyone can turn a pile of scrap into a valuable tool.
Conclusion
Building a sandblaster from an old gas can and steel pipes is a testament to the power of creativity and resourcefulness. This project not only provides a functional tool for metalworking but also encourages sustainable practices by repurposing discarded materials. By following the steps outlined and prioritizing safety and precision, anyone can create a powerful and effective sandblaster from scratch.
Watch the Reel
Questions readers ask
What materials are needed to build a homemade sandblaster from scrap metal?
To build a sandblaster from scrap metal, you will need an old gas can, steel pipes, an air compressor, sandblasting media, and various tools for cutting, welding, and assembling the parts. Additionally, safety equipment such as gloves, goggles, and a dust mask are essential.
How does a sandblaster work, and what can it be used for?
A sandblaster works by forcing a high-pressure stream of abrasive material, such as sand or grit, through a nozzle to clean, smooth, or etch surfaces. It is commonly used for removing paint, rust, and other materials from metal surfaces, as well as for creating decorative patterns on glass and other materials.
What safety precautions should be taken when building and using a DIY sandblaster?
When building and using a DIY sandblaster, always wear appropriate safety gear, including gloves, goggles, and a dust mask. Ensure the work area is well-ventilated to avoid inhaling harmful dust particles. Additionally, follow proper safety protocols when using power tools and handling compressed air.
Can I use any type of sand for sandblasting?
Not all types of sand are suitable for sandblasting. Silica sand, for example, can be hazardous if inhaled. It is recommended to use alternative abrasive materials such as aluminum oxide, glass beads, or crushed walnut shells, which are safer and often more effective for various applications.
What are the benefits of repurposing scrap metal for DIY projects?
Repurposing scrap metal for DIY projects reduces waste by giving new life to discarded materials. It also promotes sustainability and resourcefulness, while encouraging creativity and engineering skills. Moreover, building tools from scrap metal can save money and lead to unique, customized solutions.
Recent articles
Fresh deep dives from the latest Reels we unpacked.




Comments
Be the first to comment.