Candle Making: A Creative and Rewarding Craft
Candle making is a delightful craft that blends creativity with practical skills. Whether you're a hobbyist or an aspiring entrepreneur, creating homemade candles can be both rewarding and profitable. The process involves careful selection of materials, precise measurements, and a touch of artistic flair. Let's dive into the world of candle making, exploring the key steps, essential tools, and tips for mastering this craft.
Why Candle Making Matters
Candle making is more than just a hobby. It's a form of self-expression and a way to unwind and focus. The act of creating something beautiful from scratch can be incredibly therapeutic, helping you to slow down and appreciate the process. Additionally, making your own candles allows you to control the ingredients, ensuring they are free from harmful chemicals and fragrances, which is a growing concern among consumers.
Moreover, candles are a popular gift item, making homemade candles a fantastic business opportunity. They can be customized to suit various tastes and occasions, from elegant dinner parties to cozy evenings at home. The versatility of candles makes them a staple in many households, providing both functional and decorative value.
Main Discussion
Essential Tools and Materials
Before you begin, it's crucial to gather the right tools and materials. Here’s a list of essentials to get you started:
- Wax: The primary ingredient in candle making. Common types include paraffin, soy, beeswax, and palm wax. Each type has its own characteristics, such as burn time, fragrance throw, and eco-friendliness.
- Wicks: Available in various sizes and materials, wicks are essential for the candle’s burn quality. Choose a wick that is appropriate for the diameter of your container and the type of wax you are using.
- Containers: Glass jars, tins, or metal containers are popular choices. Make sure they are heat-resistant and safe for use with candles.
- Scents and Dyes: Essential oils and fragrance oils add a pleasant aroma, while dyes provide vibrant colors. Use high-quality, candle-safe scents and dyes for the best results.
- Thermometer: Essential for monitoring the temperature of the wax, ensuring it is at the right consistency for adding fragrances and dyes.
- Double Boiler or Melting Pot: For melting the wax safely and evenly.
- Pouring Pitchers or Measuring Cups: For transferring melted wax into containers.
- Scissors: For trimming wicks to the correct length.
- Hot Glue Gun: Useful for securing the wick to the bottom of the container.
Key Steps in Candle Making
Choosing the Right Wax
The type of wax you choose will significantly impact the final product. Soy wax, for instance, is popular for its clean burn and eco-friendly properties. Paraffin wax, on the other hand, is known for its strong scent throw but is less environmentally friendly. Beeswax and palm wax offer unique textures and scents, making them ideal for specialty candles.
Preparing the Wax
Begin by melting your chosen wax in a double boiler or a specialized melting pot. Monitor the temperature closely, as different types of wax require different melting points. For soy wax, aim for around 185°F (85°C). Once melted, allow the wax to cool to approximately 140°F (60°C) before adding fragrances and dyes. This cooling period ensures that the scent and color are well-distributed.
Adding Fragrances and Dyes
Before adding fragrances and dyes, ensure the wax is at the correct temperature. Essential oils and fragrance oils should be added at a rate of 6-10% by weight of the wax. For dyes, follow the manufacturer’s instructions to achieve the desired color intensity. Stir the mixture gently but thoroughly to ensure even distribution.
Preparing the Wick and Container
Cut the wick to the appropriate length, ensuring it is long enough to reach the bottom of the container and extend a few inches from the top. Secure the wick at the bottom of the container using a bit of hot glue. Use tape or a pencil to hold the wick in place while pouring the wax.
Pouring the Wax
Carefully pour the melted wax into the container, ensuring the wick remains centered. Allow the wax to cool and solidify completely. As the wax cools, the top layer may sink slightly, creating a depression. This is normal and can be corrected by pouring a small amount of melted wax on top to create a smooth surface.
Trimming the Wick
Once the candle is completely cooled and solidified, trim the wick to about ¼ inch (6 mm) above the wax surface. A properly trimmed wick ensures a clean and even burn.
Types of Candles
Container Candles
Container candles are perhaps the most common type, made by pouring melted wax into heat-resistant containers. They come in various shapes and sizes, from small tins to large glass jars. These candles are versatile and can be customized with different scents, colors, and container types.
Pillar Candles
Pillar candles are freestanding and do not require a container. They are typically made from beeswax or soy wax and are often used for decorative purposes. The process involves pouring melted wax into a mold and allowing it to cool and solidify. Once removed from the mold, the candle can be trimmed and decorated as desired.
Tealight Candles
Tealight candles are small, often made in aluminum or plastic cups. They are popular for their convenience and versatility, often used in centerpieces or for creating ambiance. Making tealight candles involves pouring melted wax into tealight containers and securing the wick at the bottom.
Practical Tips
- Always work in a well-ventilated area to avoid inhaling fumes from melting wax.
- Use a dedicated thermometer to monitor the wax temperature accurately.
- Experiment with different fragrance and dye combinations to create unique scents and colors.
- Consider investing in high-quality molds and containers for a professional finish.
- Keep your workspace clean and organized to avoid spills and accidents.
Important Takeaways
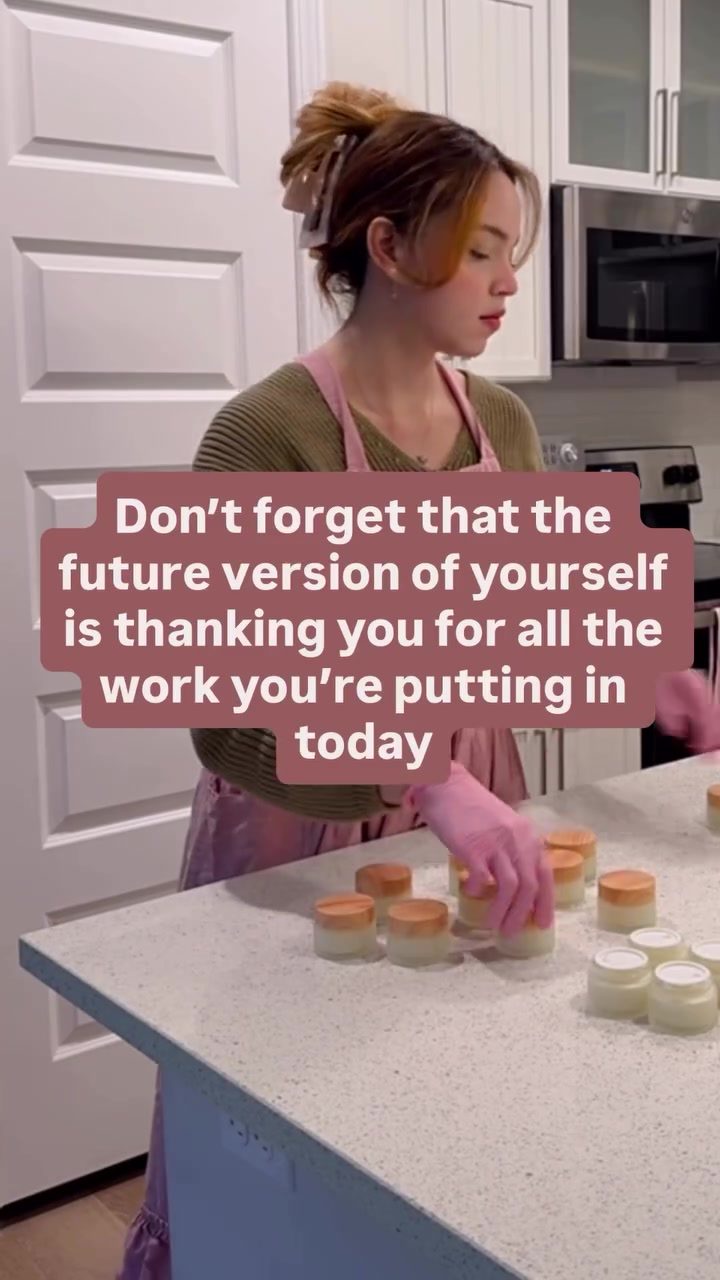
Candle making is a rewarding and versatile craft that allows you to express your creativity while creating functional and decorative items. By choosing the right materials, following the key steps, and experimenting with different techniques, you can make high-quality candles that are perfect for personal use or as gifts. Whether you're a beginner or an experienced crafter, there's always room to learn and grow in the world of candle making. Embrace the process, enjoy the journey, and remember that the future version of yourself will thank you for all the work you put in today.
Watch the Reel
Questions readers ask
What is included in a basic candle making kit for beginners?
A basic candle making kit typically includes essential supplies such as wax, wicks, a melting pot, and sometimes molds or containers. You might also find dyes, essential oils for scent, and a thermometer for precise temperature control. These kits are designed to help beginners start their candle making journey with minimal hassle.
Can you explain the basic steps of DIY candle making?
Creating a candle at home involves several key steps. First, you melt the wax using a double boiler to prevent burning. Next, you add any desired fragrances or colors and carefully pour the melted wax into a mold or container. Insert the wick, ensuring it's centered, and allow the candle to cool and solidify. Trim the wick once it's completely set.
What type of wax is best for candle making?
The choice of wax depends on the type of candle you want to make. Paraffin wax is commonly used for its affordability and ease of use. Soy wax is popular for its clean burn and eco-friendly properties. Beeswax is another option, known for its natural scent and longer burn time. Each type has its own advantages, so choose based on your specific needs and preferences.
How can I make scented candles at home?
To make scented candles, add essential oils or fragrance oils to your melted wax. The general guideline is to use about 0.5 to 1 ounce of fragrance oil per pound of wax, but this can vary. Stir the oil into the wax thoroughly to ensure an even scent distribution. Be mindful of the type of wax you're using, as some may not hold scents as well as others.
What are some unique candle making ideas for gifts?
Homemade candles make thoughtful gifts. Consider using unique containers like teacups, small jars, or even seashells for a personalized touch. You can also experiment with different shapes, sizes and colors. Layering colors, or adding natural elements like dried flowers or herbs, can make your candles stand out. Personalized labels or gift wrapping can enhance the presentation.
How can I start a candle making business?
Starting a candle making business involves several steps. First, invest in quality supplies and equipment. Next, develop your unique candle designs and scents to differentiate your products from others. Create a business plan, determine your pricing, and build an online presence through a website or social media platforms. Participate in local markets or craft fairs to showcase your products and gain customers.
Is it necessary to take candle making classes to learn the craft?
While taking candle making classes can provide structured learning and expert guidance, they are not strictly necessary. Many resources, such as online tutorials, books, and blogs, offer comprehensive guidance on candle making techniques. Beginners can start with simple projects and gradually take on more complex designs as their skills improve. However, classes can be beneficial for learning advanced techniques and gaining hands-on experience.
Recent articles
Fresh deep dives from the latest Reels we unpacked.




Comments
Be the first to comment.