Watch the Reel
DIY Bottle Opener: A Simple and Creative Solution
Creating a functional bottle opener at home doesn't have to be complicated or expensive. With a few simple materials and a bit of creativity, you can make a handy DIY bottle opener that will come in useful for various occasions. This article delves into the process of making a DIY bottle opener, exploring the materials needed, the steps involved, and some practical tips to ensure your creation is both functional and durable.
Why Make a DIY Bottle Opener?
Having a reliable bottle opener is essential for any home, especially for those who enjoy hosting gatherings or frequently entertain guests. A DIY bottle opener adds a personal touch to your home and can be a fun project to do with friends or family. Additionally, it's a cost-effective solution that can be customised to match your home's decor or personal style. Whether you're a craft enthusiast looking for a new project or simply want a functional tool, making your own bottle opener is a rewarding experience.
Materials and Tools
What You'll Need
To create your own DIY bottle opener, you'll need a few basic materials:
- A piece of wood (a wooden plank or a sturdy wooden block)
- A plastic bottle
- A pipe (metal or plastic)
- Screws or bolts
- A screwdriver
- A drill (optional, for making holes)
- A cutting tool (scissors or a knife, for cutting the plastic bottle)
Choosing the Right Materials
The type of wood you choose will depend on the look and durability you want. Hardwoods like oak or maple are more durable, while softer woods like pine are easier to cut and work with. The plastic bottle can be any type, but clear or translucent bottles can make the process easier, as you can see the placement more clearly. The pipe should be sturdy and able to withstand the pressure of opening a bottle.
Step-by-Step Guide
Step 1: Prepare the Wood
Start by selecting a piece of wood that is sturdy and flat. You can use a wooden plank or a block, depending on your preference. Ensure the wood is clean and free of any debris. If necessary, sand down any rough edges to prevent injury.
Step 2: Cut the Plastic Bottle
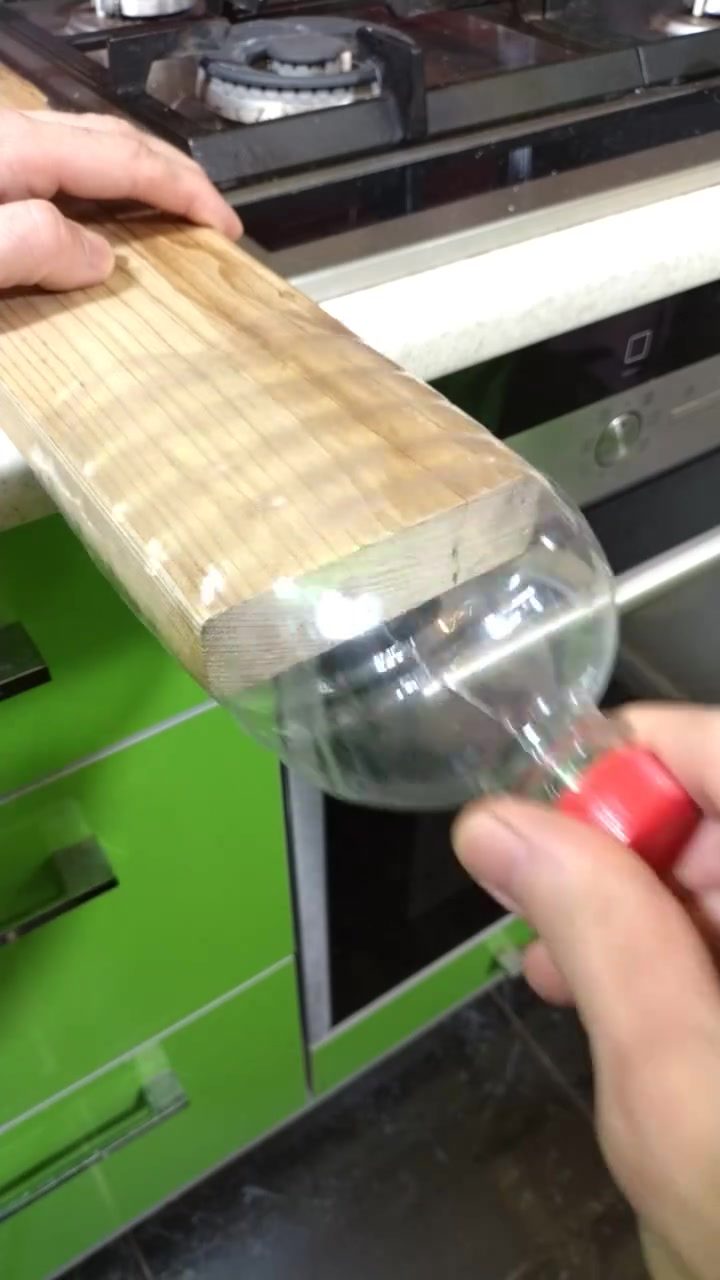
Next, cut the plastic bottle to the desired length. You'll need a section of the bottle that can be wrapped around the pipe. Use scissors or a knife to carefully cut the bottle, ensuring the edges are smooth. The length of the cut bottle will depend on the size of the pipe and the desired functionality of your bottle opener.
Step 3: Wrap the Bottle Around the Pipe
Wrap the cut section of the bottle around the pipe, ensuring it fits snugly. The bottle should be able to grip the pipe securely without slipping off. You may need to adjust the length of the cut bottle to achieve the right fit.
Step 4: Secure the Bottle to the Wood
Once the bottle is wrapped around the pipe, secure it to the wooden plank or block. You can use screws or bolts to attach the pipe to the wood. If necessary, drill holes in the wood to accommodate the screws or bolts. Make sure the pipe is securely fastened and won't move when in use.
Step 5: Test the Bottle Opener
After securing the pipe to the wood, test the bottle opener by attempting to open a bottle. The bottle should fit securely under the pipe, and the wooden plank should provide enough leverage to open the bottle without slipping.
Practical Tips
Choosing the Right Pipe
The type of pipe you choose can affect the functionality of your DIY bottle opener. Metal pipes are generally more durable and can withstand more pressure, making them a good choice for frequent use. However, plastic pipes can be easier to work with and are less likely to cause injury if mishandled.
Ensuring Durability
To ensure your DIY bottle opener is durable, make sure the pipe is securely fastened to the wood. Use strong screws or bolts and consider using glue or adhesive to reinforce the connection. Regularly check the bottle opener for any signs of wear or damage, and replace any worn-out parts as needed. Proper maintenance will extend the lifespan of your DIY bottle opener.
Adding a Personal Touch
Customize your DIY bottle opener by painting or staining the wood. You can also use decorative elements like beads or ribbons to add a personal touch. Consider engraving your name or a special message into the wood for a unique and memorable touch.
Important Takeaways
Creating a DIY bottle opener is a simple and rewarding project. With a few basic materials and some creativity, you can make a functional and stylish bottle opener that will come in handy for years to come. Remember to choose durable materials, secure the components properly, and maintain the bottle opener regularly for optimal performance.
Conclusion
A DIY bottle opener is a practical and creative addition to any home. Whether you're hosting a party or simply enjoying a beverage, having a handy bottle opener at your disposal makes life easier. By following the steps outlined in this article, you can create a functional and durable bottle opener using readily available materials.
FAQ
Hardwoods like oak, maple, or walnut are excellent choices for a DIY bottle opener due to their durability and resistance to wear. These woods can withstand frequent use and maintain their functionality over time.
While having basic woodworking tools like a saw and drill can make the process easier, it's possible to create a simple DIY bottle opener without them. For example, you can use a pipe and a strong adhesive to create a simple and effective bottle opener.
You can make a DIY bottle opener in various styles. Some creative ideas include using a piece of reclaimed wood for an eco-friendly touch, incorporating a magnet to attach it to a metal surface, or adding a unique design with engraving or painting.
To ensure durability, choose a strong material like hardwood or metal. Apply a finish or sealant to protect the wood from moisture and wear. Additionally, design the opener with a sturdy handle and a secure attachment for the opening mechanism.
Besides wood, you can use materials like metal, plastic, or even a repurposed pipe. For a metal bottle opener, use a sturdy piece of sheet metal or an old wrench. Plastic can be shaped and drilled to hold a lever. You can also cut and shape a pipe to create a unique and functional opener.
Yes, you can create a DIY bottle opener without a traditional lever. One method is to use a strong magnet to attach to a metal countertop. Another method is to use a lever with a pivotal point that you can create using a nail and some tubing.
Products
Share this article
Related deep dives
Similar reads based on topic and creator.
Recent articles
Fresh deep dives from the latest Reels we unpacked.



Comments
Be the first to comment.